


Easy DIY Holiday Gifts for Kids
The holiday season is upon us once again, which, among other things, means it’s crunch time for present shopping. Before going crazy trying to buy Grandpa yet another tie he doesn’t need “from” your children, consider taking the budget-friendly and always sentimental route of making homemade gifts with your kids. Whether these gifts are for grandparents, siblings, cousins or friends, they will always mean more when your kid was really involved in the creation of the present. And trust me, I know that “presents” made by kids are sometimes junk, but here are some cost-effective yet truly meaningful and useful gifts that kids can make themselves this year:
Thumbprint Christmas Light Picture Frame
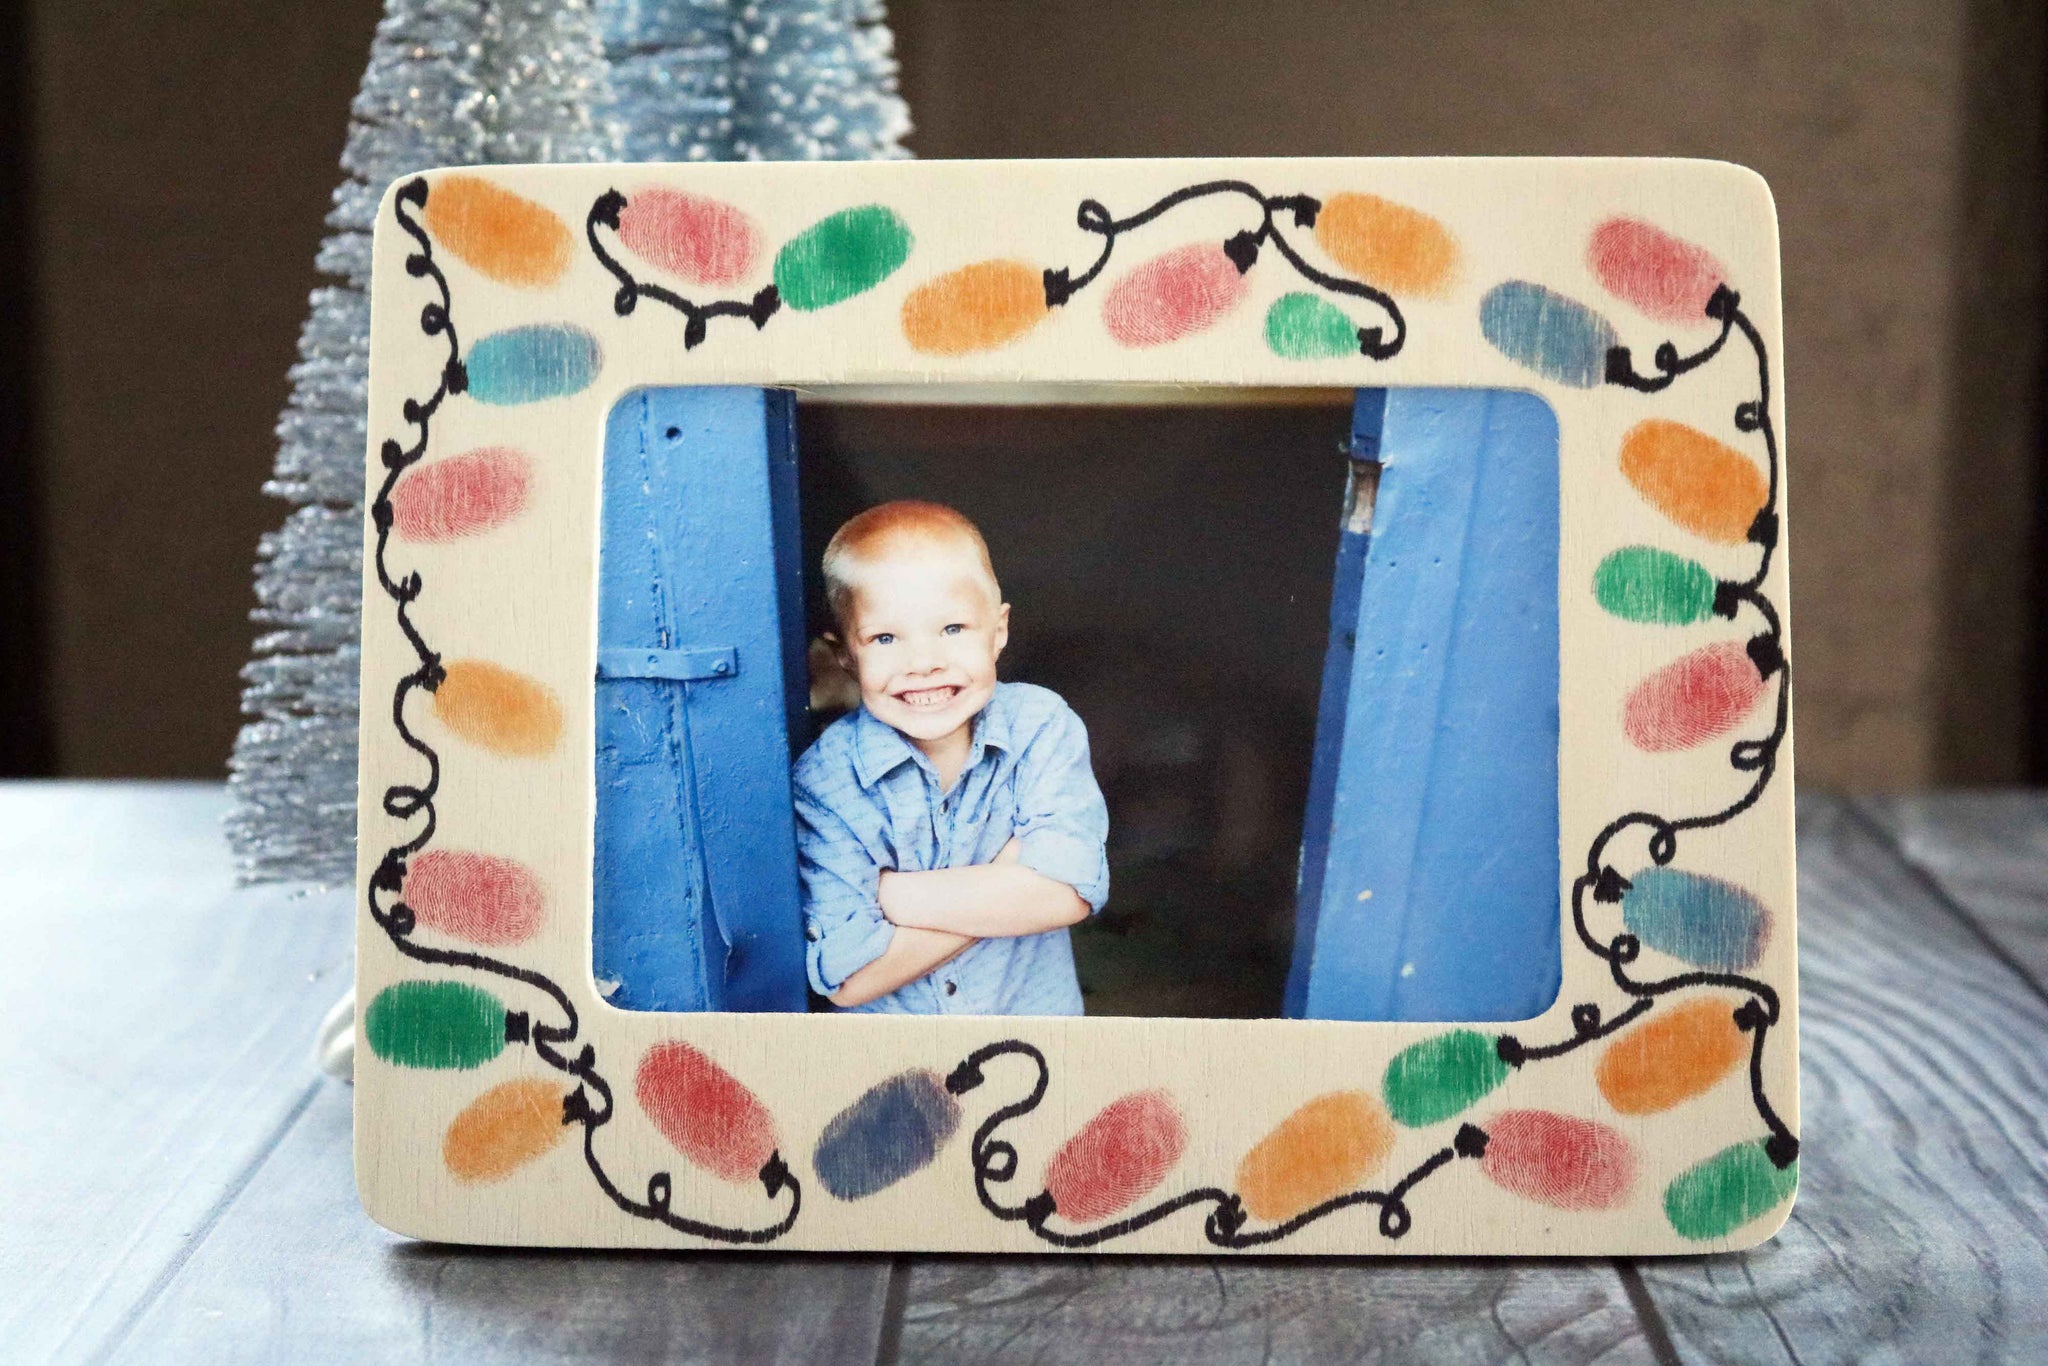
Have children create a one-of-a-kind festive piece that can be displayed for years to come!!!
Supplies:
- Wooden Craft Frame
- Various Colors of Ink Pads
- Black Sharpie
Directions:
- First, have children press their thumb hard on the ink pad and then press it down on the wood craft piece. Repeat all over the frame until you have a full set of "lights."
- Finish off your frame by drawing on the string of the lights with a black Sharpie marker. Then add other embellishments you see fit {like rhinestones, glitter etc}
- Find a sweet picture of your kids and the recipient(s) of the gift to pop into the frame
Handprint Snowman Ornament
Supplies:
- Plastic Ornament {clear or colored}
- Craft Paint {most importantly white!}
- Paint Brushes
- Baby Wipes
- Paper Plate
Directions:
- First squirt some paint on a paper plate.
- Have children choose a hand and paint their fingers completely white. Press them on the ornament once. This will create FOUR snowmen.
- Use a baby wipe to clean your child's hand.
- Now grab your remaining paint and draw on embellishments to give the snowman life. At this point in time, you can also add other embellishments like glitter, rhinestones, sequins etc.
- Set aside to let it dry completely before gifting away or hanging on the tree!
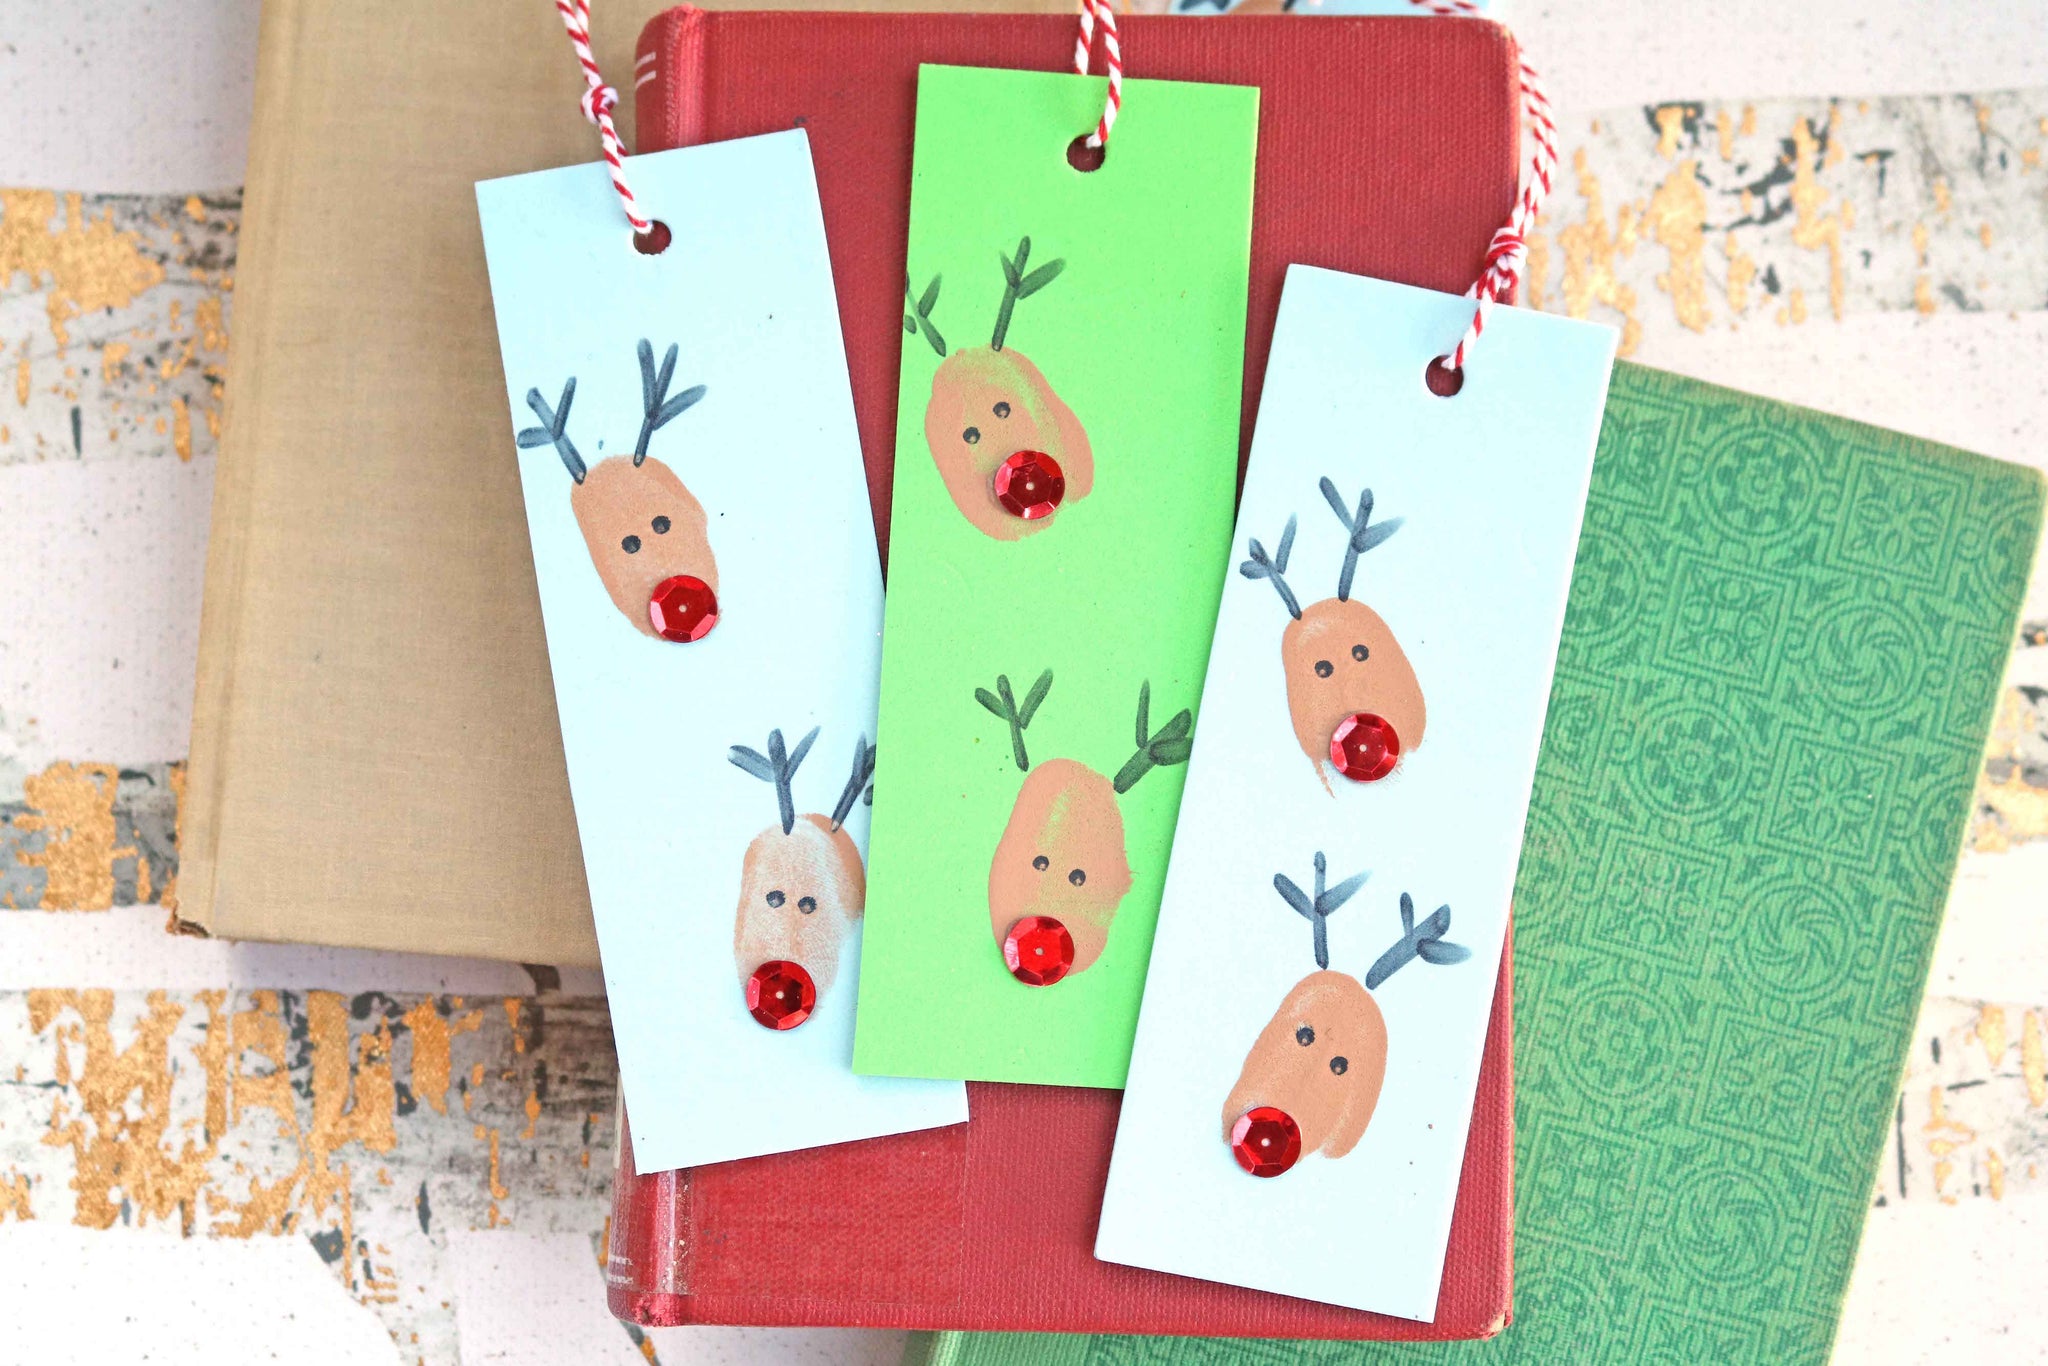
Thumbprint Reindeer Bookmarks
Supplies:
- Craft Foam
- Scissors
- Brown Craft Paint
- Paper Plate
- Black Sharpie
- Red Sequins
- School Glue
- Hole Punch
- String
Directions:
- First trim down your craft foam into a bookmark shape. We did 2 inches by 5 inches on ours. Repeat for each bookmark you want to make.
- Next squirt some brown paint on a paper plate. Have children press their thumb in the paint, then press it a few times on the craft foam shape in various spots. Set aside to let it dry completely.
- Now you are ready for the reindeer embellishments. Using a black Sharpie - draw on antlers and eyes for each thumbprint reindeer. Finish off by gluing a red sequin nose.
- To finish off the Thumbprint Reindeer Bookmarks, punch a hole at the top and add some colorful string. Then gift away!!! Your bookworms will be thrilled to see these cute bookmarks as they flip through the pages of their books this holiday season!
Check out these other fun winter themed kid crafts found on the Glued To My Crafts blog: Footprint on Christmas Tree Keepsake Printable; Melted Snowman Kid Craft; and Bubble Wrap Snowy Tree Kid Craft
Comments